
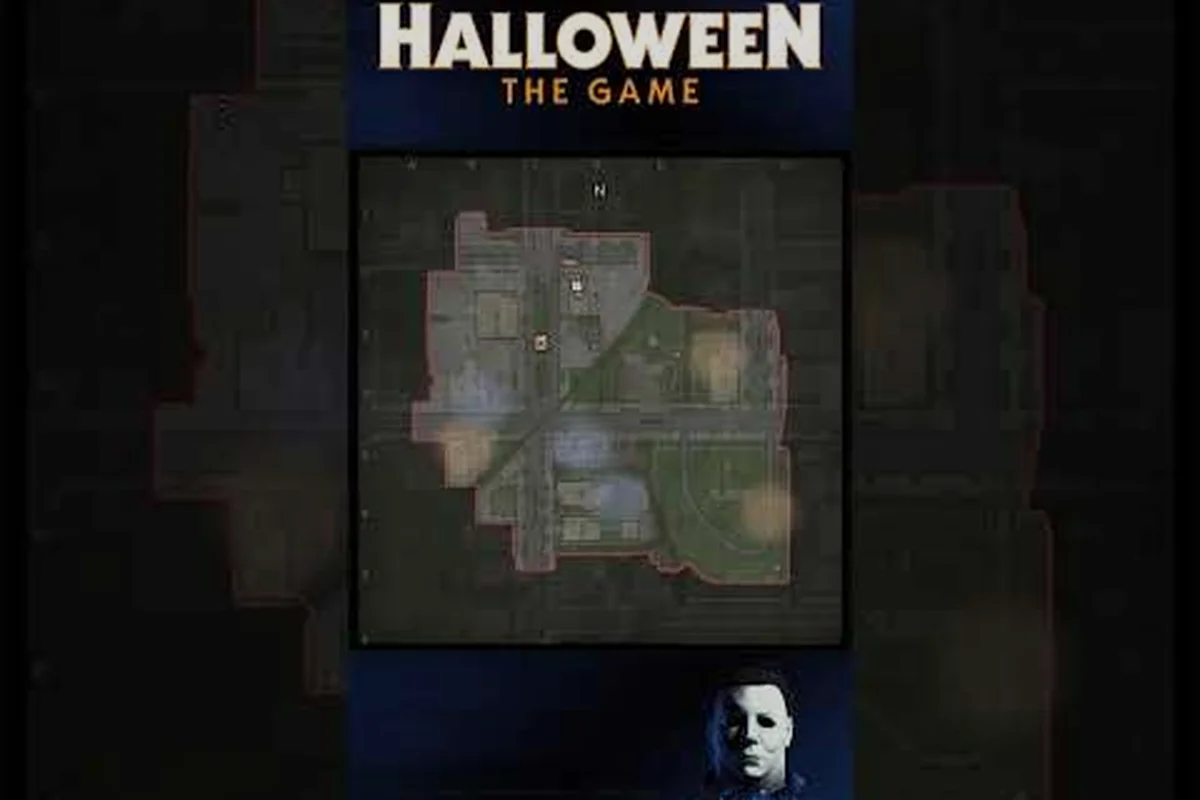
Controlling Haddonfield as Michael Myers demands more than raw aggression. A disciplined michael myers map guide as killer approach turns random wandering into a predictable trap network, which is exactly why top killers memorize street geometry before they memorize execution inputs. This guide breaks down patrol routes, sightlines, and ambush timing so you can force victims into corners instead of chasing shadows.
Reading Haddonfield as a Kill Zone
Michael Myers is not a chase-speed demon. He is a stalker who wins by controlling space before the first scream, and every effective michael myers map guide as killer strategy begins with understanding how residential streets funnel movement. Haddonfield's layout rewards killers who treat the map as a series of connected ambush corridors rather than an open playground.
The Three Street Layers
Most community players describe Haddonfield in three horizontal bands: the Suburban Row, the Mid-Block Connectors, and the Backyard Lane. Each layer changes how victims move and how you should position your Detection Pulse — the Suburban Row funnels survivors through front-yard sightlines where a single pulse can tag two or three targets at once, while the Backyard Lane's fences and hedges break line-of-sight so often that you should hold your pulse until you've already committed to a chase angle, otherwise you burn the ability cooldown on a wall.
| Map Layer | Typical Victim Behavior | Killer Positioning Priority |
|---|---|---|
| Suburban Row | Open sightlines, fast escape attempts toward parked cars | Hold corner shrubs, use Shape Slip to mask approach |
| Mid-Block Connectors | Quick cuts through fences and garages | Pre-stage behind fence gates, punish the hesitation window |
| Backyard Lane | Slow crouch movement, frequent hiding spots | Patrol the outer edge, force victims back toward mid-block |
Because victims rarely commit to one layer for long, your goal is to rotate between layers rather than lock onto a single street. Players who camp one spot discover that Heroes simply reroute through a neighboring backyard, while killers who maintain a loose triangle patrol consistently intercept them at transition points.
Why Corners Beat Straight Lines
Straight-line chasing on Haddonfield is a losing formula. Long residential sightlines let victims call for help early, and frightened townsfolk can summon police before you close distance. A corner-based patrol, however, keeps you inside Shadow cover while shortening the distance to any sound cue. The official Steam page notes that Michael must manage visibility carefully, which means treating every open lawn as a hazard and every hedgerow as a tool.
Patrol Patterns That Pressure Without Wasting Cooldowns
Effective map control means moving with intention. A random loop burns your michael myers ability cooldown windows without generating pressure, while a structured patrol keeps Shape Slip and Detection Pulse available for critical moments. The key is understanding how long each ability takes to recharge so you never enter a fight without options.
Cooldown-Aware Rotation Timing
According to community testing, Michael's abilities have distinct cooldown rhythms that should dictate patrol speed. Rushing between objectives often leaves you standing in the open with nothing ready, which is how Heroes escape through a window you should have covered.
| Ability | Reported Cooldown Feel | Best Patrol Use |
|---|---|---|
| Shape Slip | Short, refreshes between blocks | Entering a new street segment unseen |
| Detection Pulse | Moderate, requires planned activation | Checking two adjacent backyards at once |
| Stalk | Builds gradually while line of sight holds | Locking a victim's movement before the ambush |
Players who master michael myers ability cooldown timing describe a rhythm: pulse one block, slip into the connector, stalk a target for three seconds, then commit. The three-second stalk window is not arbitrary — it lines up with the time a survivor needs to finish a vault animation or clear a doorway, meaning your Evil Within tier gains maximum progress while the target is locked in a predictable animation path. Rushing the commit early is the most common killer mistake on this map: you exit stalk before the tier-up threshold, lose line-of-sight in the connector's blind corner, and burn the cooldown with zero payoff, leaving you unable to re-stalk when the survivor re-emerges near the police patrol spawns.
The Triangle Patrol Method
The Triangle Patrol links three anchor points that cover the highest-traffic transition zones. Anchor A sits at the eastern Suburban Row corner, Anchor B at the central garage cluster, and Anchor C at the western Backyard Lane edge. Moving A → B → C in a loose loop takes roughly the same time as a full Shape Slip cooldown, which means you arrive at each anchor with an ability ready.
This rotation creates a squeeze effect: victims pushed out of one anchor instinctively flee toward another, and because your patrol timing matches their panic timing, you intercept them mid-transition. The triangle also keeps you within Detection Pulse range of two anchors at any time, reducing the chance of a silent escape through an unchecked yard.
Ambush Setup and Execution Timing
An ambush is not the same as a chase. A proper michael myers ambush guide teaches you to let victims walk into your blade, which means choosing ambush points that hide your silhouette while giving you a short, straight commit path. Haddonfield offers dozens of viable ambush points, but a few consistently outperform the rest.
Prime Ambush Anchors
Community reports consistently identify three ambush anchors that punish victim impatience. Each anchor combines Shadow coverage, a narrow approach lane, and a nearby escape route that you can cut off before the victim reacts. The garage pillar on Lampkin Lane is the most reliable example: its blind corner hides you from the driveway camera while the breaker-box shortcut sits just 12 meters behind, letting you sever the only quick exit before Stalk reaches Tier 2 and your lunge connects.
-
The Garage Side Door: Victims checking for loot often pause here for two seconds, which is exactly the window you need to exit Shape Slip and commit. The door frame masks your outline until the last instant.
-
The Fence Gap at Mid-Block: This narrow connector forces victims into single-file movement. A killer waiting on the far side gets a clean strike before the victim can turn around.
-
The Porch Shadow Under the Oak: This spot hides you from both street and backyard sightlines, while the low wall gives you a fast vault route if the victim breaks toward the road.
Positioning at any of these anchors means you commit to waiting rather than pursuing. The hardest skill for new Michael players is trusting the ambush, because the urge to chase every sound cue overrides the patience that makes the trap work.
When to Abandon an Ambush
Not every ambush pays off. If a victim approaches with a Hero escort or you spot a police patrol moving toward your position, the right call is to rotate away through a connector and reset at the next anchor. Staying too long triggers a visibility spike, and once the neighborhood knows your location, every subsequent ambush becomes harder. A clean retreat preserves your Stalk progress on the original target while avoiding a multi-Hero fight you cannot win cleanly.
Managing Police Pressure and Detection
Police response is the biggest variable in any michael myers how to avoid police plan. Once frightened residents make the call, patrol cars change the map's tempo, and ignoring them turns a controlled hunt into a defensive scramble. The best killers treat police as mobile obstacles that can be redirected, not as a timer that ends the match.
Reading Police Response Routes
Police vehicles in Haddonfield follow predictable street routes, but their timing depends on how many witnesses you leave alive. A quiet early game means slower response, while three screaming residents in the first minute brings patrols to your sector fast. Players who master michael myers how to avoid police start by minimizing witness count and only commit to loud executions when the map is already thinned.
| Police Behavior | Killer Counter | Map Impact |
|---|---|---|
| Patrol car sweeps main road | Stay inside Backyard Lane, use fence gaps | Forces victims toward connectors, not open street |
| Officers check last known location | Rotate two anchors away immediately | Creates a temporary safe zone elsewhere |
| Multiple units converge on a body | Abandon the sector, reset patrol triangle | Opens a window to pressure the opposite side |
The counter-intuitive insight is that police pressure can help your patrol if you use it to compress victim movement. When officers lock down one street, victims flee toward the next available exit, which is exactly where your triangle should already be waiting.
Silent Movement Between Hot Zones
Avoiding police is not just about running away. It is about moving silently through zones they already searched. Police rarely re-check an area they cleared thirty seconds ago, so cutting back through a searched block often gives you the cleanest route to your next anchor. Pair this with Shape Slip to cross any open gaps, and you can maintain full map presence without ever trading hits with a patrol unit.
Stalking to Lock the Kill
Michael Myers how to stalk is not a passive ability; it is the engine that converts map control into kills. Stalk builds while you maintain line of sight on a victim, and a fully built stalk meter makes your next attack dramatically more dangerous. The map guide element is choosing where to stalk so that the victim's escape options collapse as the meter fills. For a full breakdown of how to weaponize that meter and line-of-sight pressure, our How To Play As The Shape guide covers the same stalking principles in dedicated depth.
Stalk-Friendly Sightlines
The best stalk positions on Haddonfield are elevated or offset angles that keep you inside Shadow while the victim stays visible. A second-floor window, a hedge line at the edge of a yard, or the gap between two parked cars all provide the sustained line of sight that stalk requires. The key is avoiding the victim's peripheral vision cone, because once they spot you, stalk progress stalls and they bolt.
Veteran players describe an L-shaped stalk pattern: start from a perpendicular street, hold line of sight as the victim moves parallel, then cut the corner to arrive at the next sightline before they reach it. This pattern keeps the meter climbing while repositioning you for the eventual strike, and it works best when your patrol triangle already pushed the victim into a predictable lane.
Combining Stalk with Ambush
A fully stalked victim is a one-hit target, which means your ambush anchor should sit at the endpoint of a stalk route, not at the start. Let the victim think they are escaping, let them commit to a connector, then step out of the Shadow with the stalk bonus already active. This is the difference between a messy chase and a clean execution, and it is why map knowledge and stalk discipline are inseparable skills.
Combat Flow After the First Hit
Landing the first hit changes the engagement. Victims panic, Heroes peel toward the sound, and your michael myers combat guide instincts take over. The map still matters here, because a good combat flow uses terrain to prevent the victim from reaching help while you finish the job.
Terrain-Locked Finishes
After an opening strike, victims almost always run toward the nearest escape asset: a window, a fence gap, or a parked car. Knowing which asset sits closest to each ambush anchor lets you pre-position your body to block that route. A killer who stands between the victim and the window forces the victim to either fight or reroute, and both options burn precious seconds.
The best combat sequences on Haddonfield use door frames and fence corners to trap the victim in a small pocket. You do not need a long chase if the first hit lands inside a natural kill box, and the map guide's role is to tell you where those boxes sit. Community players often note that kills on this map feel less like chases and more like collapses when the setup is right.
Disengaging from Lost Causes
Not every hit leads to a kill. If two Heroes arrive with weapons drawn, or a police unit turns the corner, the smart play is to disengage through a connector and reset your patrol. Michael's unkillable status means you can absorb pressure, but absorbing pressure without a kill wastes time and feeds Hero confidence. A clean retreat preserves your Stalk progress and keeps the map control loop running.
Advanced Map Control for Closing the Match
Late-game Haddonfield is a different map. Fewer victims, more police, and tighter kill windows mean your early patrol triangle must tighten into a kill box around the remaining escape routes. This is where all the pieces — patrol, ambush, cooldown management, police avoidance, and stalk — combine into a single plan.
Collapsing the Endgame Triangle
As the match winds down, shrink your patrol from three anchors to two. Abandon the anchor that sits farthest from the remaining escape objectives and double your presence on the two that matter most. This tighter loop increases your encounter rate while keeping your abilities cycling on schedule, which is critical when every missed Detection Pulse gives a victim time to slip away.
The official IllFonic preview videos, including the short Michael Waits In The Shadows clip, emphasize how Michael's presence compresses the map even when he is not attacking. A tight endgame patrol weaponizes that presence, making the final survivors feel boxed in on a map they thought they knew.
Exploiting Victim Exhaustion
Late-game victims are tired, low on resources, and prone to routing errors. They take the same connector twice, they hide in the same backyard, and they forget which street the police already swept. A killer who has tracked their movement all match can predict these mistakes and set a final ambush at the exact spot where their pattern repeats. This is not luck; it is the payoff for disciplined map control from the first minute.
Frequently Asked Questions
What is the best patrol route for Michael Myers on Haddonfield?
The Triangle Patrol linking the Suburban Row corner, the central garage cluster, and the Backyard Lane edge works best because it matches Shape Slip cooldown timing. Rotate A → B → C in a loose loop and you arrive at each anchor with an ability ready, which pressures victims without leaving gaps.
How do I avoid police while patrolling as Michael?
Move through Backyard Lane and fence gaps instead of open streets, and rotate two anchors away immediately after any loud execution. Police rarely re-check areas they searched recently, so cutting back through a cleared block gives you a safe route to your next ambush point.
What is the best ambush spot for Michael Myers?
The Garage Side Door is the most consistent ambush anchor because victims pause there for loot checks, giving you a clean Shape Slip exit window. The Fence Gap at Mid-Block and the Porch Shadow Under the Oak also perform well for single-file commits and multi-direction escapes.
How does Michael Myers' stalk ability work on the map?
Stalk builds while you maintain line of sight from a Shadow-covered angle outside the victim's peripheral vision. Use an L-shaped pattern across perpendicular streets to keep the meter climbing while repositioning, then commit at an ambush anchor with the stalk bonus already active for a one-hit kill.
Should I chase or reset after landing the first hit?
Reset if the victim reaches a Hero escort or police patrol, because absorbing pressure without a kill wastes time. If the first hit lands inside a terrain pocket like a door frame or fence corner, commit to the finish and block the nearest escape asset instead of chasing across open ground.