
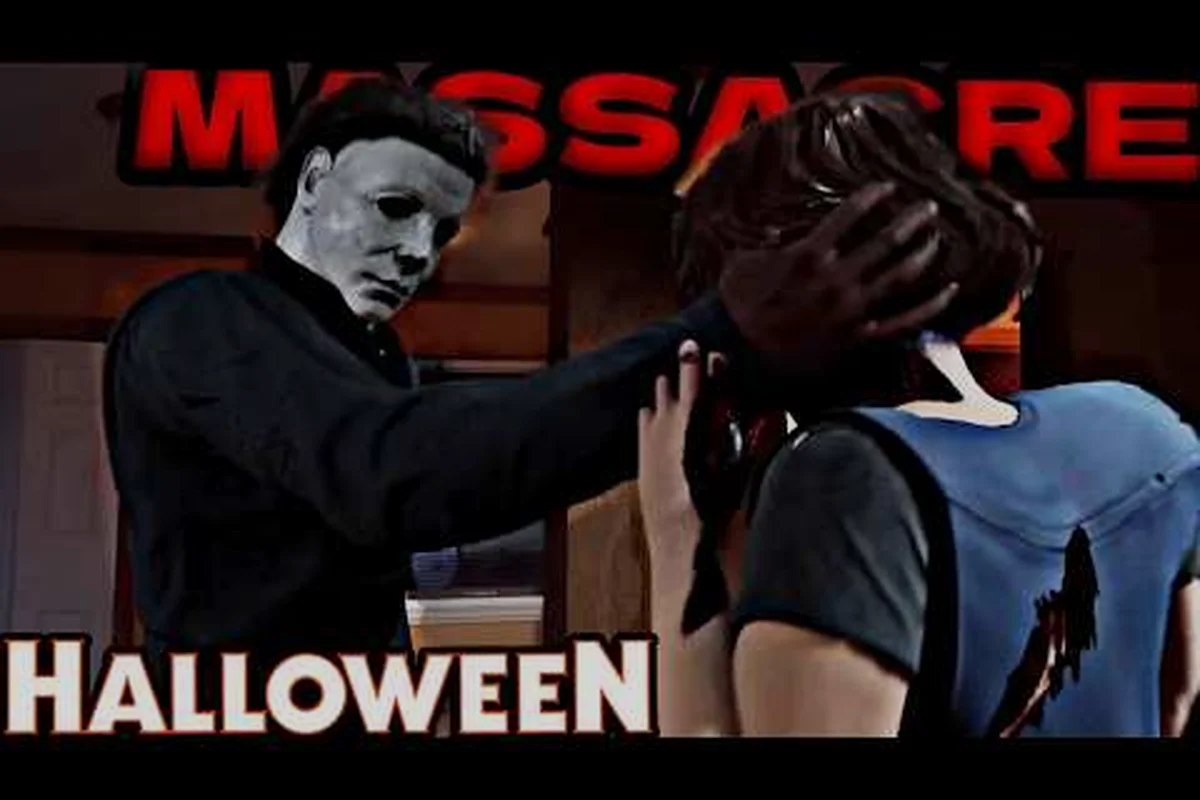
Playing as The Shape in Halloween: The Game demands patience, positioning, and psychological pressure rather than raw speed. Learning how to play as The Shape means understanding that you are an unkillable stalker who wins by isolating Heroes, managing visibility, and striking when escape routes vanish. This guide breaks down stalking, stealth, and ability timing so you can claim victims before the Heroes escape Haddonfield. To master his hit-and-run lethality and make every stalk count, fine-tune your loadout with our Michael Myers Best Abilities breakdown before you step onto the streets.
Understanding The Shape's Core Stalk Mechanics
The Shape is not a conventional chaser in the 1v4 asymmetrical horror sandbox. Your power comes from observation and the escalating tension you create. According to the official Halloween: The Game website, Michael Myers stalks residents through shadows using a nightmarish array of abilities, and frightened townsfolk call the police and fight back if they detect you too early. That detection threshold is your primary resource to manage.
The stalking loop works because Heroes cannot fight you directly. They can only delay, hide, or complete objectives while police arrive. Your job is to make every one of those options feel unsafe. Shape Slip lets you reposition through darkness without being seen, while Detection Pulse reveals nearby Heroes at the cost of giving away your general direction. The tension between these two abilities defines the entire stalk phase.
How Visibility and Patrol Routes Work
Visibility in this game is not binary. Heroes have a detection meter that fills when they see you, when you trigger environmental noise, or when you use Detection Pulse too close to their position. Once the meter fills, they call the police, and your window for clean kills shrinks dramatically. Managing that meter is the difference between a 4-kill match and a frustrating chase.
| Visibility Action | Hero Detection Effect | Best Use Window |
|---|---|---|
| Standing in shadows | Minimal, slow fill | Early stalk phase |
| Walking in streetlight | Moderate fill | Mid-chase pressure |
| Shape Slip reposition | None if unseen | Rotating between objectives |
| Detection Pulse | High, reveals your direction | Only when isolated target confirmed |
| Breaking doors or windows | High, map-wide ping | Committing to a chase |
Patrol routes should follow objective clusters. Heroes need to complete tasks like rescuing families or repairing exits, and those tasks force them into predictable areas. Community reports consistently highlight that camping a single exit is less effective than rotating between two adjacent objectives, because the rotation keeps Heroes guessing and prevents them from committing to a long repair.
The Shape's Ability Kit and Best Build
Your ability loadout determines whether you play as a silent stalker or an aggressive pressure hunter. The official Steam page lists executions like Body Hook and TV Zap, but those are finishers—your real power comes from the three core abilities: Shape Slip, Detection Pulse, and the passive terror mechanic that slows Hero actions when you are close.
Choosing a build starts with understanding what each ability does for your win condition. Shape Slip gives you near-invisibility in darkness, allowing you to cross open ground or set up ambushes without telegraphing your route. Detection Pulse is a trade-off: it reveals Hero positions in a radius but also tells them roughly where you are. The passive terror mechanic is your silent win condition, because it makes Hero skill checks harder the longer you stay near them without attacking.
Recommended Build for Consistent Kills
The best build for most matches prioritizes information denial and ambush potential over raw chase speed. You do not need to outrun Heroes; you need to be where they are going before they know it. Stack Stalk charge by holding line-of-sight from behind cover, then break it only when the Terror Radius drops and your Evil Within tier climbs — this is what lets you reposition through Vaults and corridors without triggering chase music. Against coordinated survivors who rotate Generator clusters, the Jumpscare window from a fully charged Stalk is worth more than any speed perk, because it converts a predictable patrol route into a guaranteed down before the exit gates power up.
| Ability Priority | Upgrade Focus | Playstyle Outcome |
|---|---|---|
| Shape Slip first | Reduced cooldown, longer duration | Frequent silent rotations |
| Detection Pulse second | Wider radius, shorter reveal window | Ambush setup on objectives |
| Terror passive third | Increased skill-check penalty | Heroes fail repairs faster |
| Execution speed last | Faster kill animations | Shorter exposure during kills |
This build wins by forcing Heroes to abandon objectives after one failed skill check. When they scatter, they split up—and a split Hero team is exactly what The Shape wants. A key part of Michael Myers gameplay is understanding that your presence alone, even without attacking, drains Hero resources and coordination. The longer you stay invisible but nearby, the worse their position becomes.
Stalk Guide: Reading Hero Behavior and Timing
A successful stalk phase requires reading Hero behavior and punishing predictable patterns. Heroes in Halloween: The Game fall into three broad behavior types: objective rushers, stealth rats, and baiters. Each type requires a different stalk rhythm. Objective rushers beeline for generators and fuse boxes, so stalking them means pre-positioning at chokepoints between objectives rather than chasing directly — their tunnel vision makes them easy to ambush when they commit to an animation lock. Stealth rats, by contrast, hug corners and crouch-walk between hiding spots, which demands patient shadowing from outside their detection cone instead of aggressive tailing. Baiters deliberately expose themselves to lure The Shape into a pallet stun or a flashlight save, so the counterplay is to refuse the first engagement and wait until they burn their utility cooldown before committing to a stalk.
Objective rushers try to complete tasks as fast as possible, often ignoring their detection meter until it is too late. These players are the easiest to ambush because they commit to long repair animations. Stealth rats move between hiding spots and wait for you to leave, which means you should use Detection Pulse sparingly to force them out of corners. Baiters intentionally reveal themselves to pull you away from a teammate doing the real objective—recognize the bait and stay on the objective instead.
Stalk Priority Table
The stalk guide below maps each Hero archetype to the correct response. This is the core of how to play as The Shape effectively: you are not chasing players, you are dismantling their plan. When a Tommy Jarvis spawns with a shotgun and sprints toward the fuse box, your stalk isn't about catching him mid-lane — it's about standing motionless in a doorway he must pass, building Evil Within while he burns his sprint meter, then tiering up to Evil Within III exactly as his shotgun blast whiffs through empty air. Against an Annie Brackett hugging the phone, the correct response is to hold stalk at a corner just outside her flashlight cone, letting her commit to the dial animation before you break line of sight — her own patience becomes the trap.
| Hero Archetype | Behavior Signal | Shape Response |
|---|---|---|
| Objective rusher | Ignores detection, long repairs | Ambush mid-animation, no Pulse needed |
| Stealth rat | Hides after every noise, never commits | Pulse once, then Shape Slip to cut off exit |
| Baiter | Reveals self, runs in open, watches you | Ignore bait, patrol the real objective |
| Coordinator | Stays with group, calls out positions | Split them with terror passive, target stragglers |
The stalk phase should last until you have confirmed at least one isolated Hero. Attacking too early, when all four Heroes are together, gives them time to call police and coordinate a rescue. Attacking too late lets objective rushers finish their tasks. The sweet spot is the moment a Hero commits to an animation while their nearest teammate is more than one room away.
Michael Myers Stealth Guide: Positioning and Ambush Setups
Stealth is not about being invisible all match—it is about being invisible at the moment it matters. The Shape's terror radius is smaller than most players expect, which means you can stand surprisingly close to a working Hero without triggering their detection meter, as long as you stay in darkness and avoid their direct line of sight.
The best ambush spots are near objective interactables with only one or two exit routes. When a Hero starts a repair, their camera locks forward, giving you a free approach from behind or from a side shadow. Body Hook executions are fast enough that you can finish a kill and Shape Slip away before nearby Heroes arrive to investigate.
Ambush Setup Checklist
Use this checklist to prepare a kill zone before the Hero arrives. The setup takes about ten seconds and makes the kill nearly guaranteed. Start by breaking line-of-sight with any windows or doorways the Hero might peek through, then position yourself against a wall corner so your white mask blends into the pale hallway textures instead of silhouetting against a dark doorway. Pop Stalk immediately after the last survivor leaves the room—the 40% movement speed buff lets you close the gap on a straggler before they can reach a pallet or vault. If the Hero runs Sole Survivor or Lithe, wait until they burn the exhaustion perk first, then strike during the cooldown window when they have no burst escape left.
- Confirm the objective is the current Hero priority by watching patrol routes for one full rotation.
- Identify the shadow line nearest the interactable that hides your model completely.
- Clear a retreat path to a second shadow or doorway for after the kill.
- Do not use Detection Pulse within the last fifteen seconds before the ambush.
- Wait for the Hero to start the animation, then approach from the side opposite their camera.
The stealth guide principle is simple: let the Hero commit first. A Hero who has already started a repair or rescue is mentally locked into that action. Their reaction time drops, and their escape options narrow. This is the moment where Michael Myers how to win becomes a question of patience rather than speed—wait for the commitment, then take it.
Terror Management and Police Avoidance
The police are the real enemy in Halloween: The Game, not the Heroes. Every time a Hero fills their detection meter, police arrive faster and patrol more aggressively. Police presence limits your movement and forces you out of shadows, which means every early detection is a resource you gave away for free.
Managing terror means knowing when to back off. If a Hero sees you and starts running toward a group, let them go. Chasing into a group of four Heroes with police on the way is a losing trade. Instead, use Shape Slip to rotate to the next objective and reset your stealth. The Heroes will call out your position, but that information goes stale after ten seconds—and you have already moved.
Terror Pressure vs. Detection Risk
| Action | Terror Pressure Gained | Detection Risk |
|---|---|---|
| Stand near objective without attacking | High, passive skill-check penalty | Low if hidden |
| Detection Pulse on isolated Hero | Moderate, reveals you exist | High, gives direction |
| Break a window near Hero | High, immediate panic | High, map-wide ping |
| Chase a Hero through open street | Very high, full team alert | Extreme, police fast |
The optimal pattern is to apply terror pressure through presence, not through visible aggression. Stand near a working Hero, let the passive penalty ruin their skill check, then Shape Slip away before they can confirm your exact position. Repeat this on different objectives, and the Hero team wastes time resetting instead of progressing.
Michael Myers Gameplay: Match Flow and Win Conditions
Every match as The Shape follows a predictable arc, and knowing that arc lets you plan your kills instead of reacting to Hero movements. The opening minute is pure information gathering: identify the Hero archetypes, locate the objective clusters, and confirm which exits Heroes are working toward.
The mid-match is where most kills happen. Heroes have committed to objectives, their resources are partially spent, and one or two have already been forced to reset after failed skill checks. This is when you should be at maximum aggression, using Detection Pulse to confirm isolated targets and committing to ambushes.
The late match changes everything. Police are active, Heroes are desperate, and escape attempts become more common. Your job shifts from killing to denying. Camp the most progressed exit, use terror passive to delay repairs, and only commit to a kill if it does not cost you exit control.
Match Phase Priority Table
| Match Phase | Primary Goal | Shape Focus |
|---|---|---|
| Opening 0-2 min | Information, setup | Patrol routes, identify rushers |
| Mid 2-6 min | Kills, resource drain | Ambush isolated Heroes, deny repairs |
| Late 6+ min | Exit denial, clean-up | Hold progressed exits, punish desperation |
The win condition is not always four kills. If Heroes are too coordinated to isolate, deny their exits and force a timeout. A match where Heroes fail to escape because you controlled the last objective is still a win for The Shape. Michael Myers gameplay rewards the player who understands that pressure, not body count, is the true objective.
Frequently Asked Questions
How do I win as Michael Myers against a coordinated Hero team?
Focus on splitting them rather than killing them. Use the terror passive near objectives to force failed skill checks, then Shape Slip to the next objective while they regroup. A coordinated team falls apart when their comms are full of stale callouts and half-finished tasks.
Is Detection Pulse worth using if it reveals my position?
Yes, but only on isolated targets. The reveal window is short, and a lone Hero cannot punish you for it. Avoid using Detection Pulse near groups or in the late match when police are already active, because the directional ping gives Heroes exactly what they need to escape.
What is the best way to learn The Shape's ability timing?
Play the opening minute without attacking. Practice rotating between two objectives using Shape Slip, and use Detection Pulse once per rotation to track Hero movement. Community testing suggests that new players who delay their first attack until the two-minute mark win more consistently because they have already mapped Hero habits.
Can Heroes fight back against The Shape?
Heroes cannot kill you, but they can call police and use environmental tools to slow you down. Frightened townsfolk in Haddonfield will fight back if you are detected, which is why managing visibility is more important than winning a direct chase. Avoid open streets and lit areas when police are active.
What should I do if all four Heroes group up?
Stay patient and let them waste time. Grouped Heroes complete objectives slower because they are watching for you instead of working. Rotate between their exit options, apply terror pressure from a hidden position, and wait for one player to peel off for a solo task—that is your kill window.